

Description
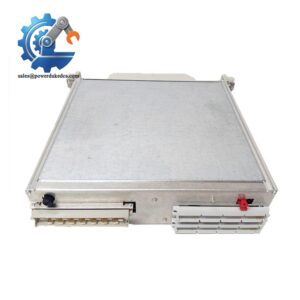
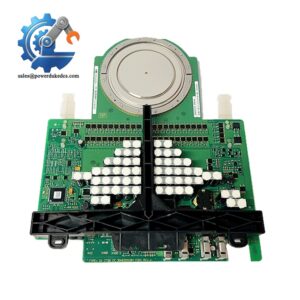
- ABB 3BSE013230R1 TU810V1 | DIN Rail Mount Field Wiring Termination Base
Product Core Brief
- Model: TU810V1 (3BSE013230R1)
- Brand: ABB
- Series: S800 I/O System
- Core Function: Passive termination base connecting field cables and S800 pluggable I/O modules
- Product Type: Module Termination Unit (MTU)
- Key Specs: 2×8 signal terminals, rated 50 V, built-in ModuleBus routing, mechanical key lock
- Condition: New Original, non-refurbished surplus stock
⚠️ Passive hardware, no onboard electronic circuit; compatible with selected digital I/O modules only
Product Introduction
Key Technical Specifications
| Parameter Item | Technical Data |
|---|---|
| Full Order Code | TU810V1 / 3BSE013230R1 |
| Product Category | Compact Module Termination Unit (MTU) |
| Terminal Layout | 2 groups × 8 signal terminals (total 16 channels) |
| Maximum Rated Voltage | 50 V |
| Bus Function | ModuleBus distribution and position address generation |
| Mounting Standard | 35 mm DIN rail installation |
| Compatible I/O Modules | DO820, DI820 and matching S800 digital I/O units |
| Anti-misinsertion | Dual mechanical coding keys, six adjustable positions |
| Housing Dimension | 64 × 170 × 58.5 mm |
| Net Weight | 0.2 kg |
| Operating Temperature | 0 °C ~ +60 °C |
| Electrical Type | Passive base, without active components |
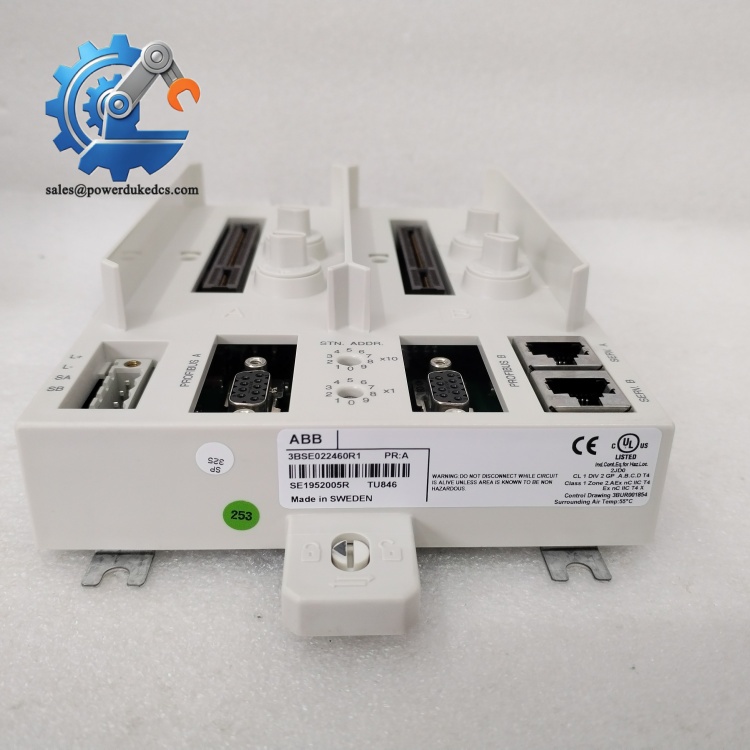
ABB 3BSE013230R1 TU810V1
Installation & Configuration Guide
Stage 1: Pre-Installation Preparation (8 mins)
Arrange equipment shutdown plan with operation team. Cut power to the whole S800 I/O rack and wait 5 minutes for capacitor discharge. Confirm all field actuators stay in safe status.
PH1 screwdriver, marker labels, mobile phone for wiring photo records, compressed air can for contact cleaning.
Print wiring diagram for reference. Confirm mechanical key position settings based on matched I/O module model.
Stage 2: Old Terminal Base Removal (10 mins)
Step 2: Unscrew terminal screws counterclockwise and detach field wiring. Bundle cables neatly to avoid tangling.
Step 3: Press DIN rail locking tab on TU810V1, slide the base horizontally off the rail.
Step 4: Inspect ModuleBus gold contacts on the back side. Clear dust and oxidation using dry compressed air.
Stage 3: New TU810V1 Installation (12 mins)
Step 2: Verify part number TU810V1 / 3BSE013230R1. Do not confuse with TU812 or TU830 variants.
Step 3: Adjust two mechanical coding keys to the same position as the original unit.
Step 4: Clip TU810V1 onto DIN rail, push until the locking latch clicks securely. Align bases in straight line for smooth ModuleBus connection.
Step 5: Reconnect field wiring according to labeled records. Tighten terminal screws with moderate torque around 0.5 N·m.
DIN rail lock engaged ✅ | Mechanical keys set correctly ✅ | All field terminals secured ✅ | ModuleBus contacts clean ✅
Stage 4: Module Mounting & Power-On Test (15 mins)
Step 1: Align matched I/O module (DO820/DI820) with TU810V1 connector, push horizontally until locked.
Step 2: Restore rack power supply. Watch I/O module front LED indicators.
Step 3: Launch Control Builder software and scan hardware tree. Verify the controller detects the I/O module at the expected slot address.
Step 4: Trigger input/output channels manually to confirm signal transmission works normally.
Step 5: Keep continuous running for over 30 minutes. Check for unstable communication alarms. Update maintenance records.
Quality Inspection Process
- Warehouse Entry Verification
Cross-check label part number 3BSE013230R1. Visual inspection for housing cracks, deformed terminals and scratch marks. Confirm mechanical keys can shift smoothly.
- Hardware Continuity Testing
Test internal ModuleBus path continuity. Check all terminal posts for reliable electrical connection.
- Mechanical Function Check
Simulate I/O module insertion to validate anti-misplug coding works as designed. Test DIN rail locking mechanism.
- Information Filing
Record serial number for traceability. Capture photos of key positions and terminal layout.
- Final QC & Packaging
Qualified units packed into anti-static bags and cartons. Attach QC Pass sticker with inspection date. Inspection photos can be provided upon request.
Field Replacement Pitfall Guide
TU810V1 cannot replace TU812, TU814 or TU830 directly. Terminal layout and ModuleBus structure differ. Installing mismatched bases leads to communication failures. Confirm model before ordering.
Many sites skip key adjustment. Without proper settings, mismatched analog modules can be forced into the base and cause permanent hardware damage. We have handled such site repair cases multiple times.
Do not pull the termination base sideways from DIN rail. Twisting motion bends the gold spring contacts on the back, breaking communication with adjacent MTUs.
Excessive torque cracks plastic terminal bases or strips screw threads. This creates loose wiring faults that randomly appear during equipment vibration.
The TU810V1 carries 16 signal terminals. Swapped wiring changes actuator response logic and may trigger unexpected machine movement during commissioning.
Frequently Asked Questions (FAQ)
-
Can TU810V1 match DO820 digital output module?
Yes. TU810V1 is one official compatible base for DO820 and DI820 S800 digital I/O modules. Adjust mechanical coding keys before installation.
-
Does TU810V1 support hot swap of I/O modules?
The base itself is passive. Hot swap feasibility depends on paired I/O module specifications. Power-off replacement remains the safest practice during maintenance.
-
Is TU810V1 an active electronic module?
No. This is purely passive hardware without chips or circuit boards. It only provides wiring terminals and ModuleBus interconnection.
-
What warranty is provided for stocked TU810V1?
All units come with a 12-month warranty after shipment. Visual and continuity testing completes before delivery. Damage from over-tightening or forced misinsertion is not covered.
-
Can analog I/O modules be installed on TU810V1?
Not recommended. Mechanical coding blocks incorrect insertion. Forcing analog modules into this base risks destroying both the module and termination base contacts.
-
What is the current stock lead time for TU810V1?
Available in spot inventory for dispatch within 1–3 working days. Confirm real-time stock quantity before formal purchase order submission.



 Start Chat